
There is a shift happening in the digital world. We are moving away from the era of proving we are “not a robot” by clicking on endless squares of traffic lights. We are moving toward a web that is faster, more private, and more respectful.
When you switch to Cloudflare Turnstile with Hizzle CAPTCHA Pro, you aren’t just adding a security plugin. You are giving your customers the gift of a frictionless experience. You are choosing a world where security happens in a “silent handshake” between the browser and the server, leaving your visitors free to shop, engage, and connect.
Why Switch to Cloudflare Turnstile?
Unlike traditional reCAPTCHA, Turnstile doesn’t track your users across the internet to verify their identity. It’s a privacy-first solution that stops 99% of bots without ever showing a frustrating image puzzle. It is the ultimate way to lower your cart abandonment rate while keeping your site a fortress.
Step 1: Secure Your Professional Upgrade
Cloudflare Turnstile is a cutting-edge, premium integration. To unlock this elite level of protection, you will need Hizzle CAPTCHA Pro active on your WordPress site.
Ready to join the privacy revolution? Upgrade to Hizzle CAPTCHA Pro here.
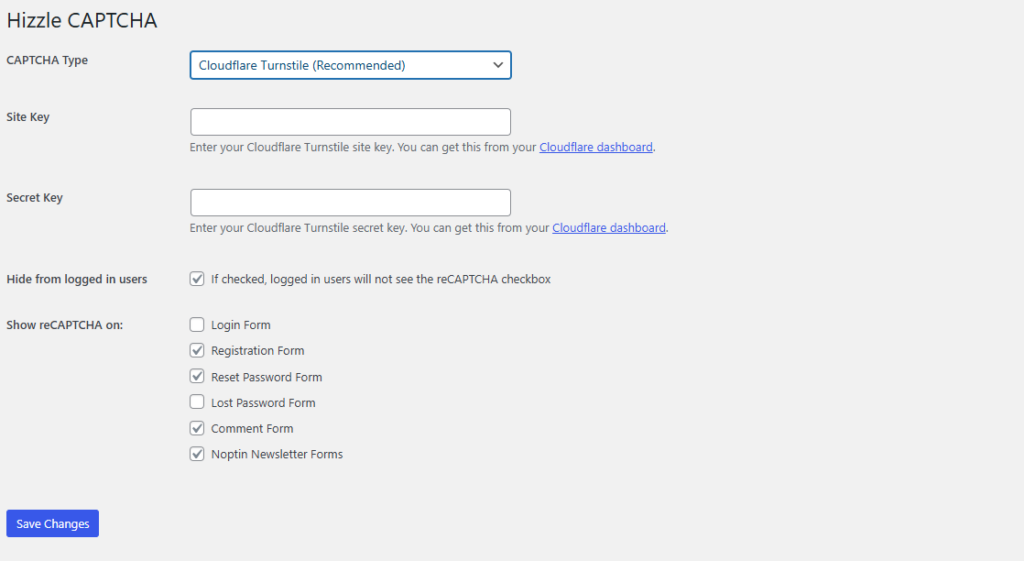
Step 2: The Command Center
Log into your WordPress Admin area. Navigate to Captcha > Settings.
As you open this page, imagine the “I’m not a robot” boxes disappearing from your site, replaced by a sleek, invisible guardian. This is the moment your site starts feeling like a high-end brand.
Leave a Reply